
“Beer is proof that God loves us and wants us to be happy.”
~ Benjamin Franklin
I’ve received a surprising number of requests for my pineapple/ginger beer process, so this seemed easier. Also, the government has recently encouraged the habit of home-brewing,

They changed their mind after, but they do that too often, so this seemed a good a time as any. This method uses entirely items that can be bought from your local grocery store, so no special equipment is needed. We’re also using the standard bread yeast – brewer’s yeast would probably taste better, but these are desperate times.
Pineapple beer is probably never going to be as great as a properly-brewed real beer, but perhaps this will tide you over until the end of 2020 in a couple of years.
In any case, brewing is fun. This process currently, including a bit of clean-up, takes me about 40 minutes or so for the initial boil, then a couple of hours to cool down, but after the initial boil is done you’re pretty much there except for the waiting and the obsessive checking on bubbles.
What you’re going to need
You’re going to need the following ingredients:
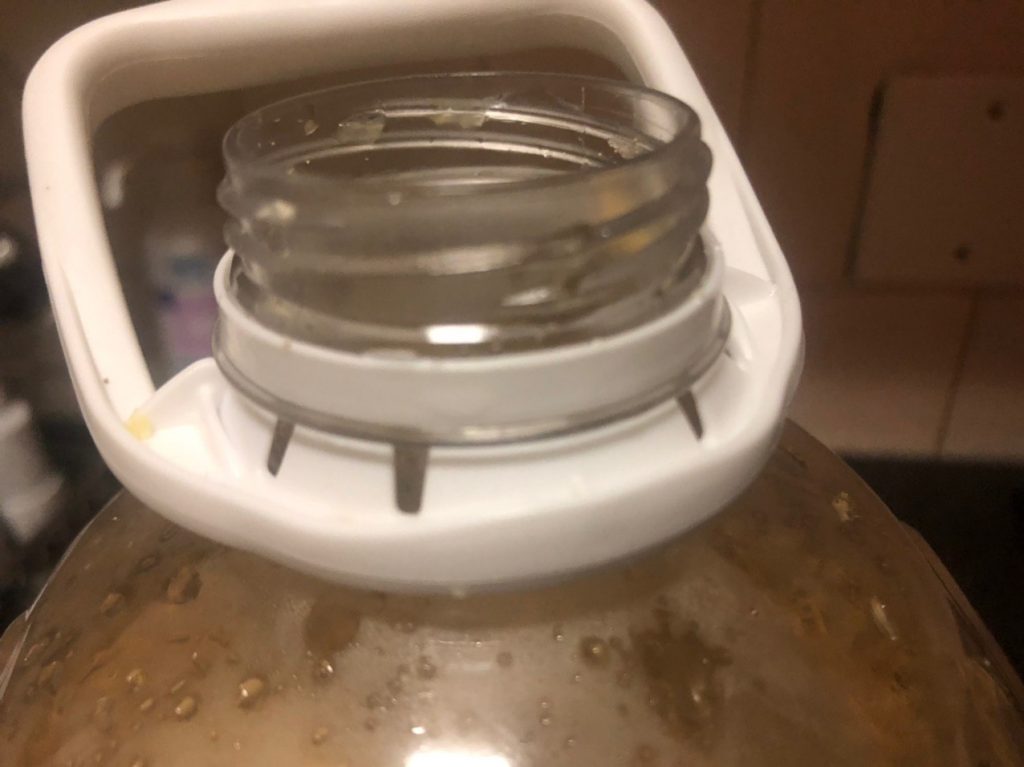
- A 5L water bottle
- Three 1.5L bottles, to decant into
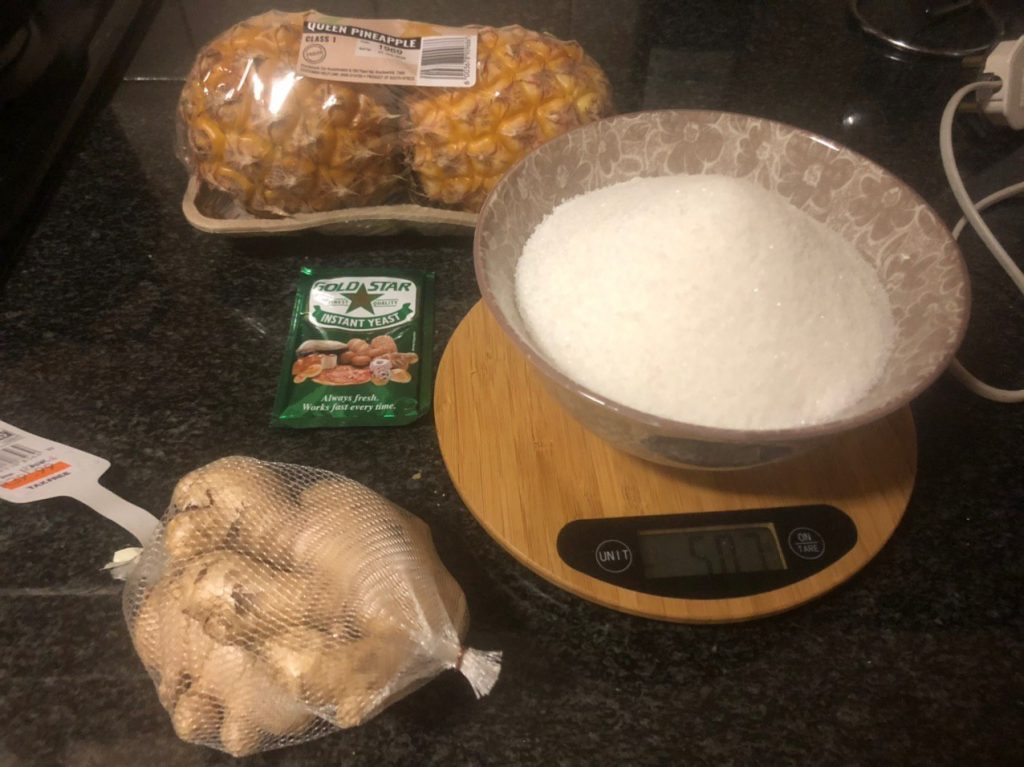
- A queen-sized pineapple
- Some amount of ginger – check the photo for approximately how much, the more ginger the spicier it’ll be
- 1kg of sugar
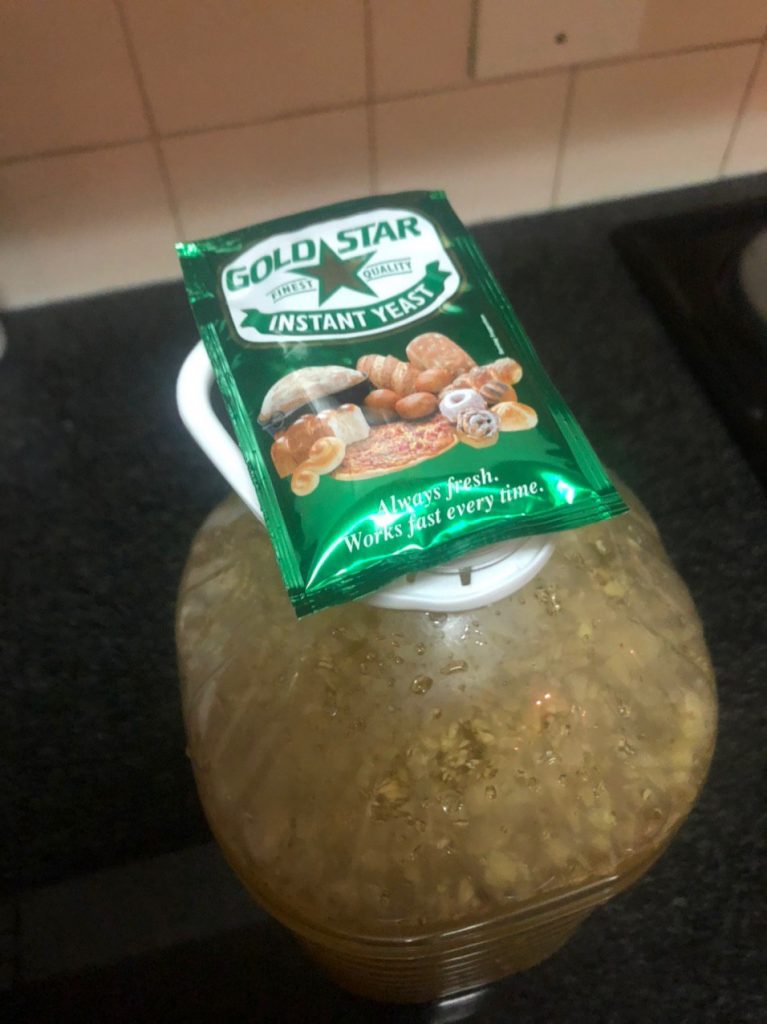
- 10g of yeast (the standard baker’s yeast is 10g)
And the following equipment:
- A kettle, for speeding the water heating
- A pot, for heating the ingredients together
- A spoon, for stirring the above
- A balloon, for capping the top of the bottle. You could use a hand cloth and an elastic band, but the balloon stops your house from smelling as yeast-y.
- Some sort of jug for moving liquid from your pot to your bottle.
- A blender would be handy, but you can get away with just a knife
- A thermometer would make things easier, but it’s not required
- A funnel is handy, but not required. Get some sort of stick to encourage the larger pieces of pineapple through it if you do use one.
Get this party started
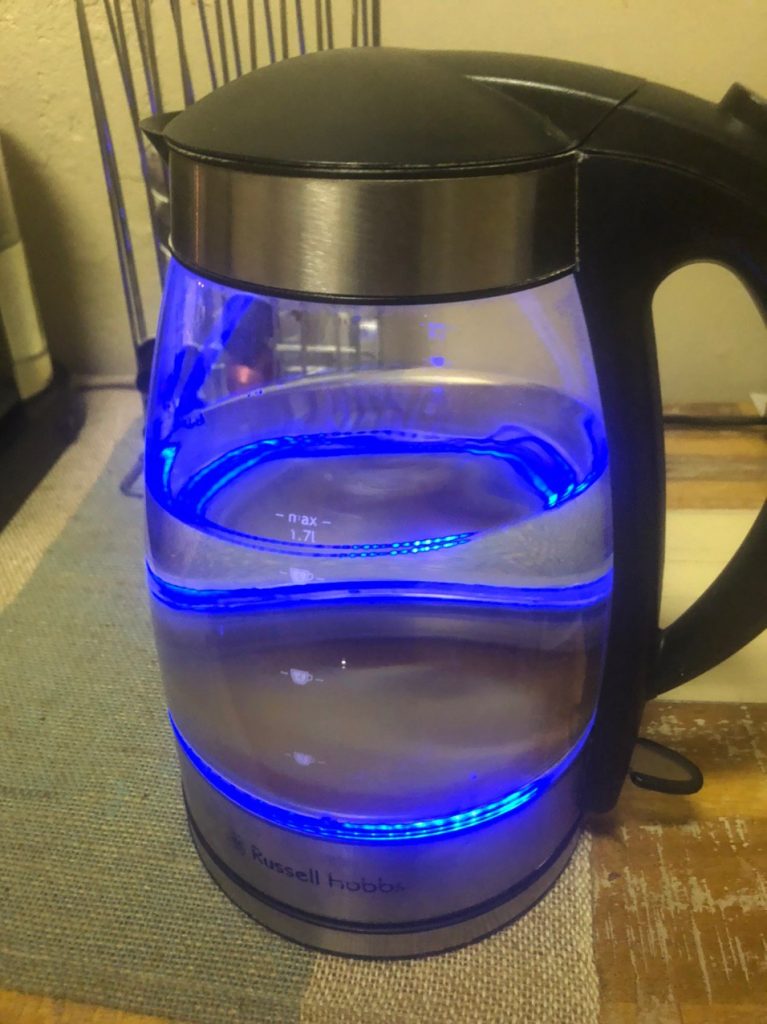
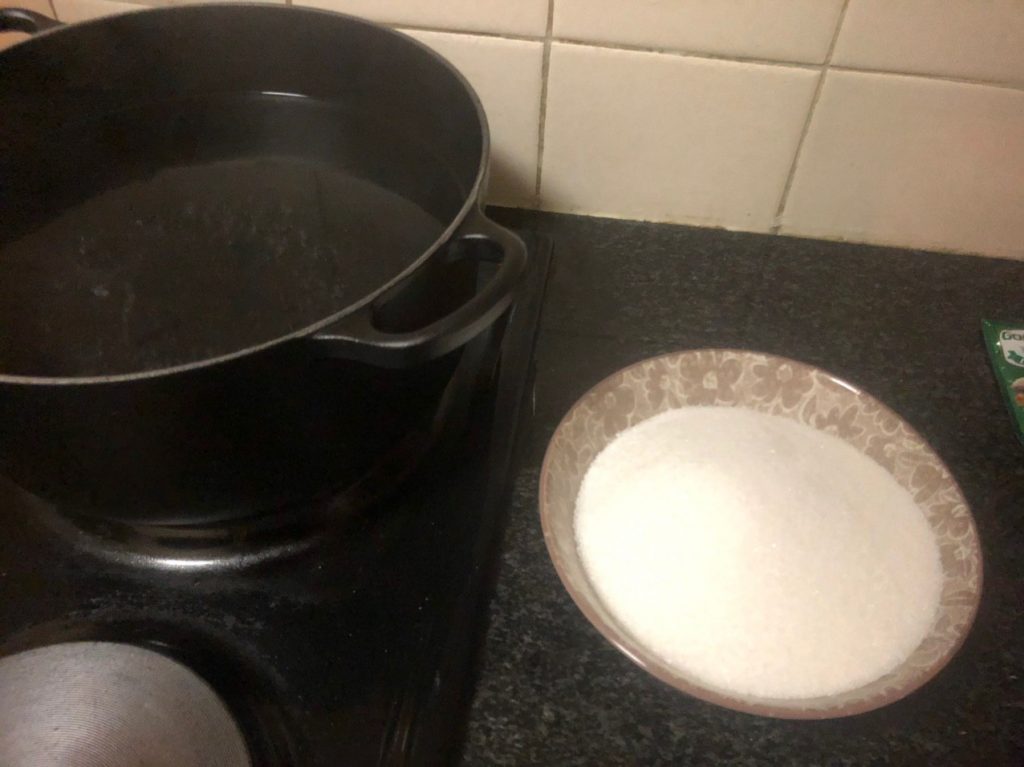
You’re going to need pretty much 5L of water (a bit less after the pineapple etc take up some of the volume), so you can start things off by boiling some water. Maybe make some tea while you’re at it, you’re going to have an unreasonable urge to throw yeast into everything you boil from here on, so you may as well make tea before that happens.
Most kettles take a bit under 2L, so you can boil three times – you’ll need it each time.
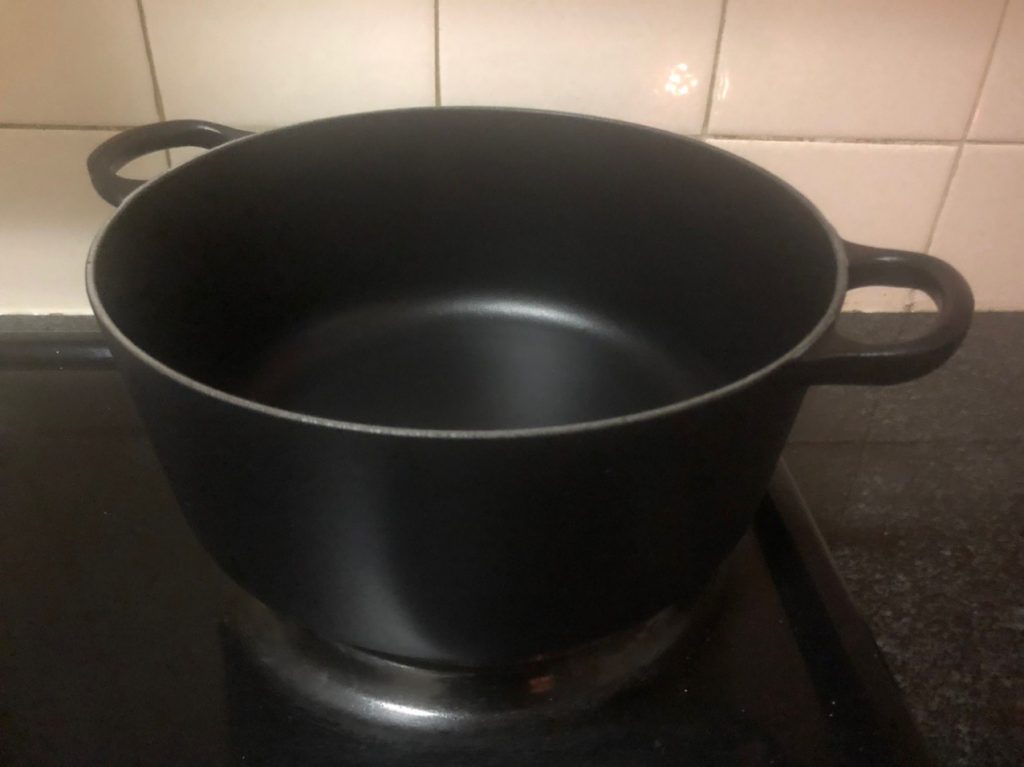
You can throw your pot on to start heating up too, while you’re heating things up. We’re going to dissolve sugar in water, so that will happen better when it’s hot. Plus we’re sterilizing everything by heating it up.
Sterilization is good – you want the yeast to have a happy home. You can throw your second boiled kettle of water in there too, once it’s done.
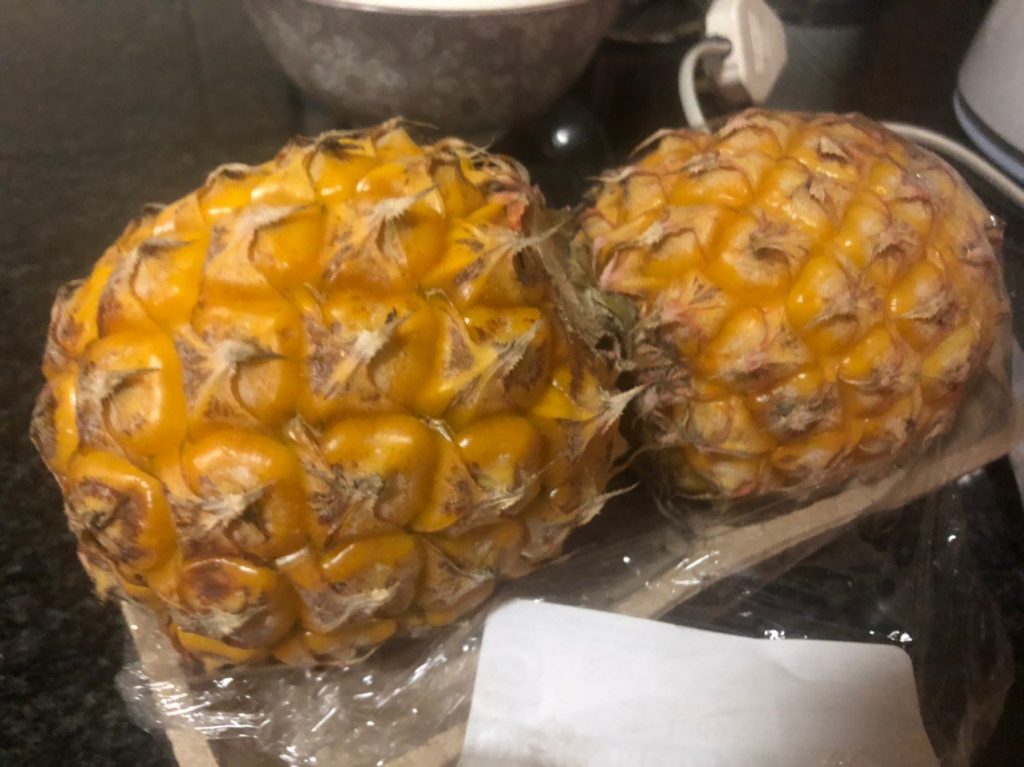
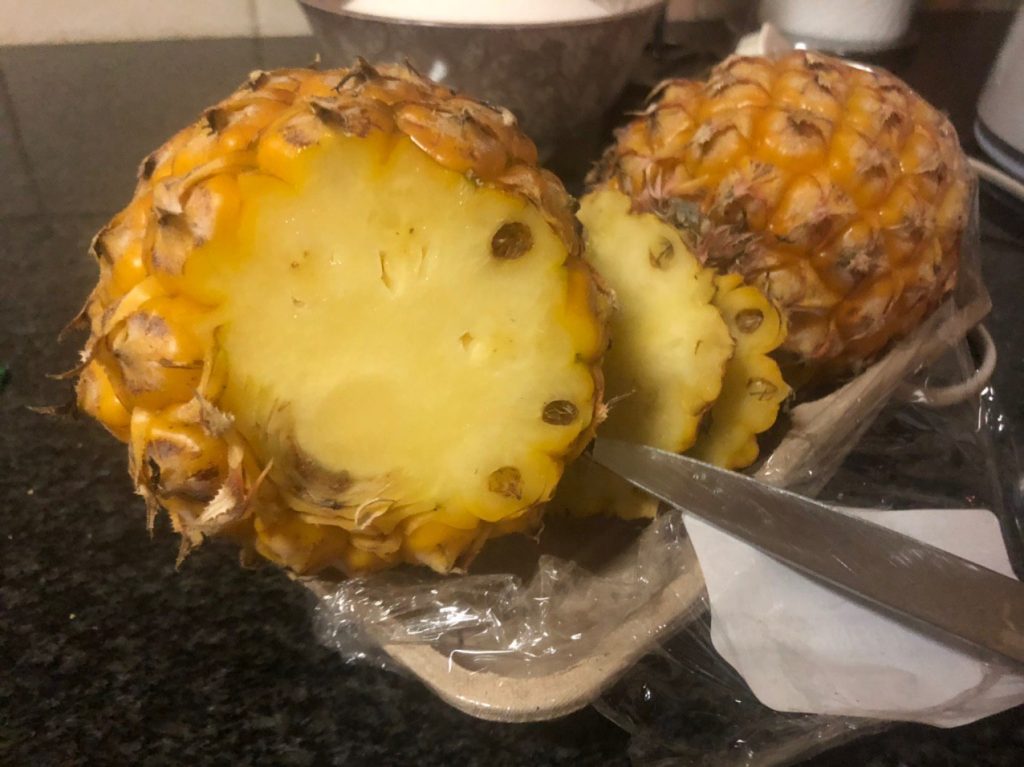
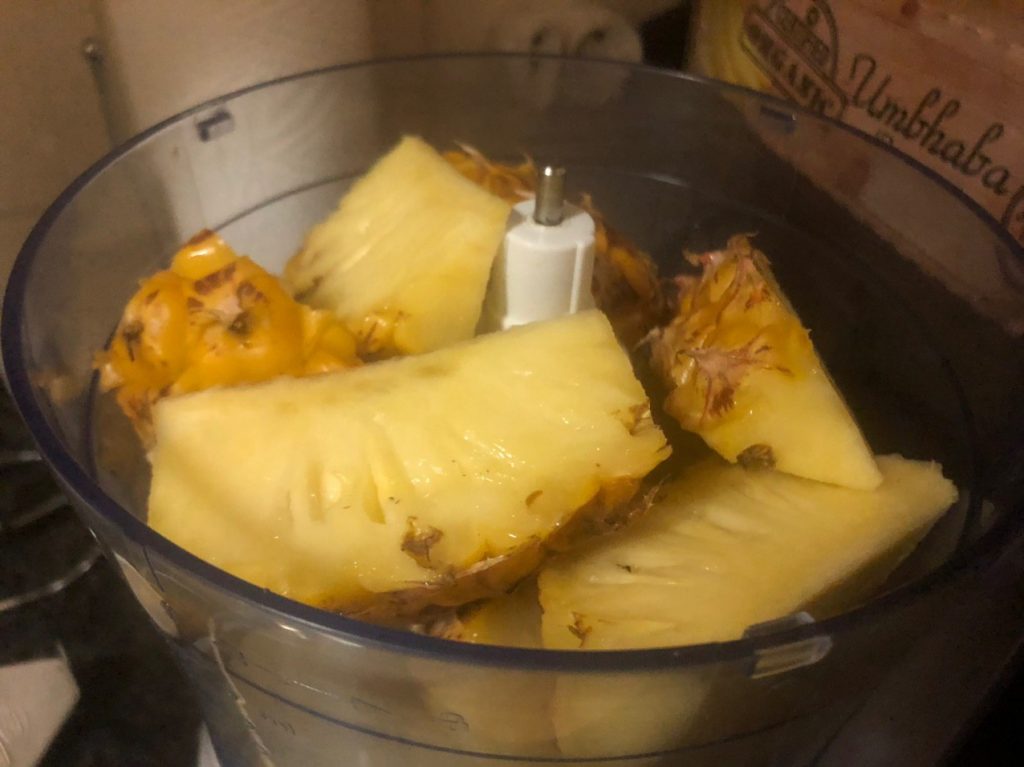
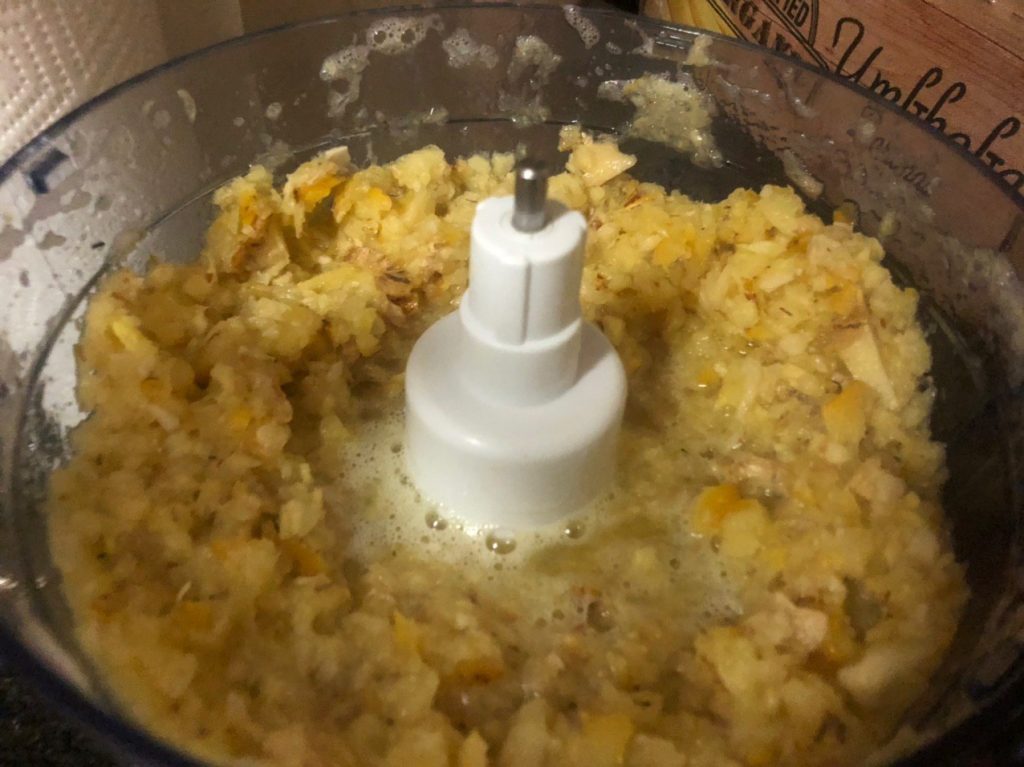
Next we’re going to prep the pineapple. I chop off the top and bottom, to make cleaning easier, then clean it under some running water. Chop it into chunks, then throw it in your blender (or settle down to some meditative bladework if you don’t have a blender).
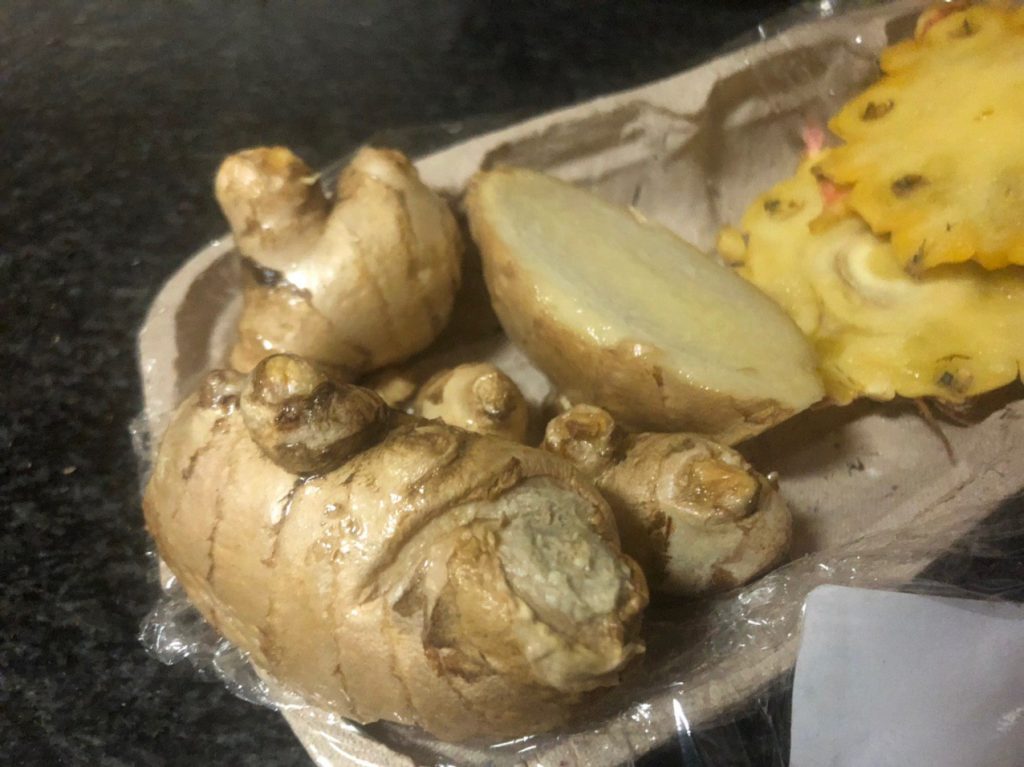
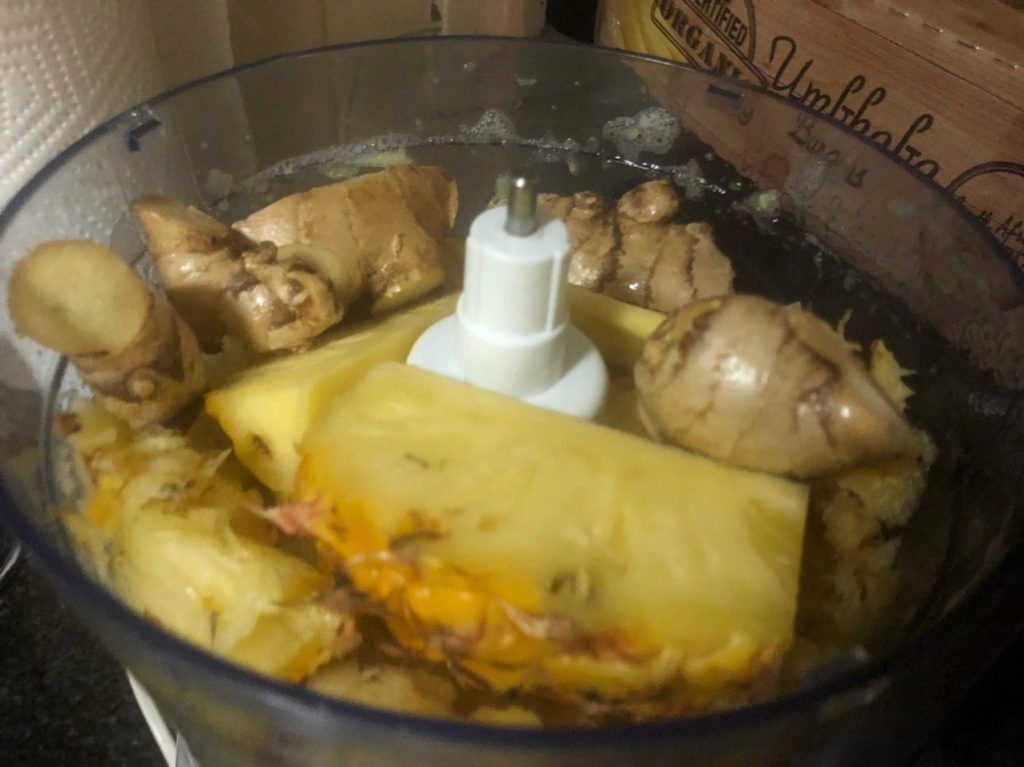
Do the same trick with the ginger – chop a bit, then blend it all up.
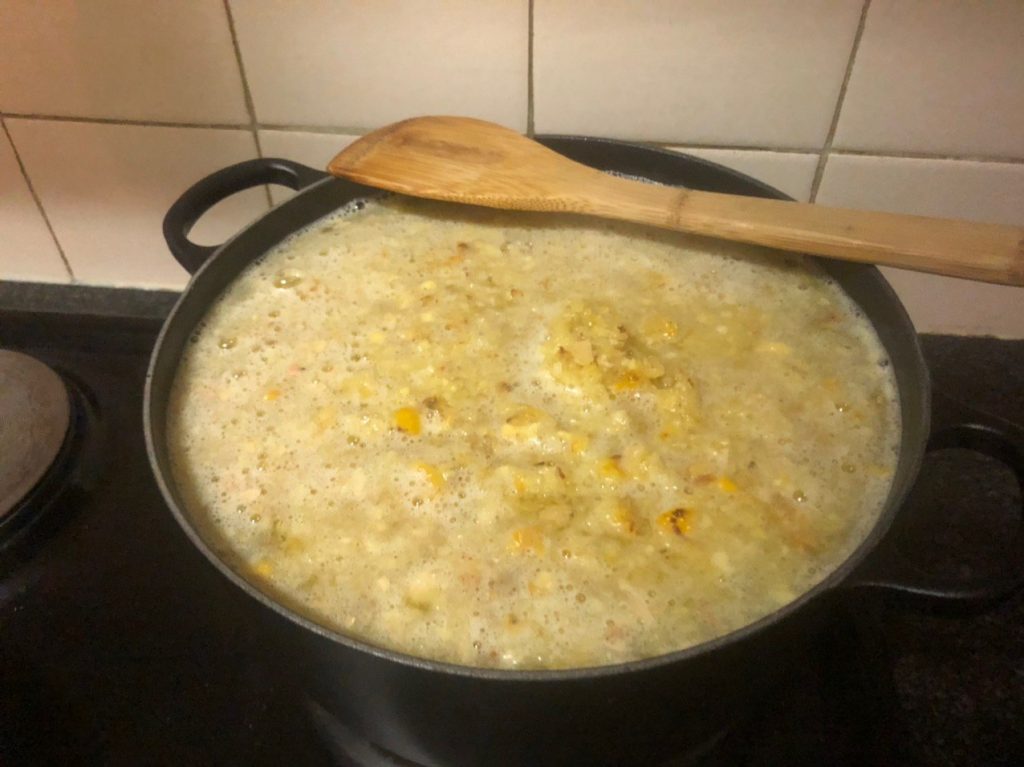
We can let the pineapple/ginger sit there and fill the kitchen with healthy-smelling fumes for a while. Your water should be bubbling by now, so we’re going to add all the sugar and stir it in until it’s all dissolved.
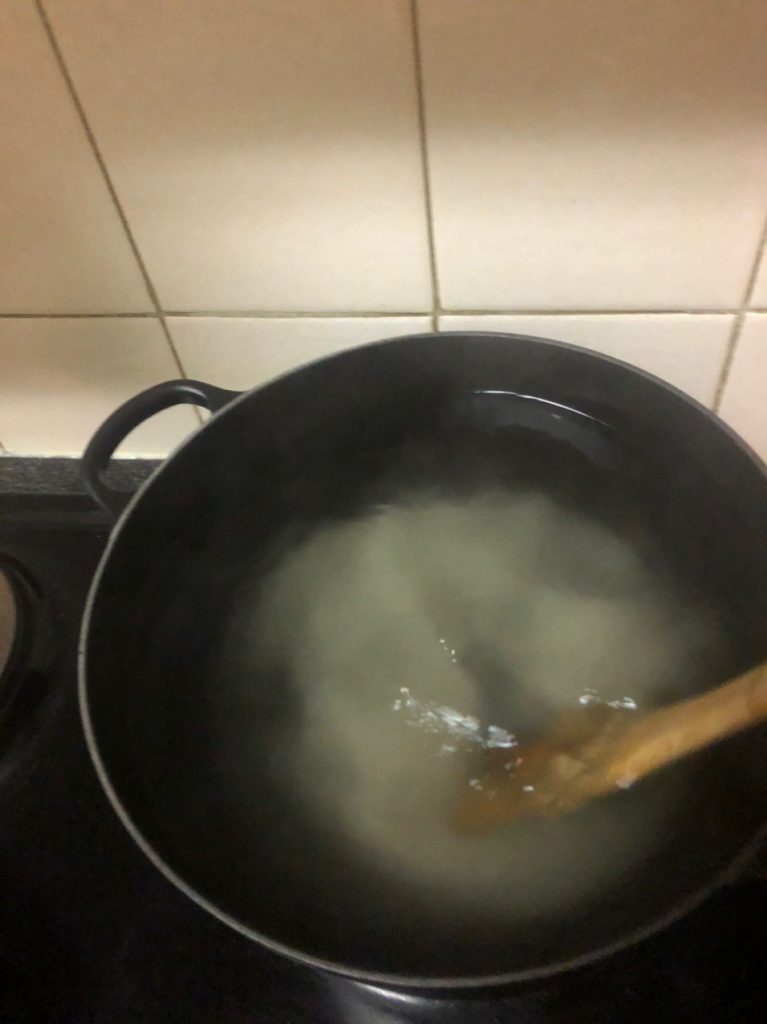
Once the water is clear, you can add the rest of the pineapple/ginger health smoothie. Depending on your pot, you may not have added enough water to fill your 5L bottle yet when you move it – that’s probably easier, because then you can top up at the end without worrying about not fitting your entire mix in. Boil your third kettle of water, then let it sit and cool down – we just want it as sterilized water for later when we move this into the bottle.
And now we wait – we need the mix to cool off enough that the yeast isn’t killed when you add it. This generally takes a while, call it four to five hours. Don’t rush it though – you don’t want to ruin it at the end. Put the lid on it so nothing else gets in there, then ignore it until it’s cool to the touch, or your thermometer says it’s comfortably below 30 degrees.
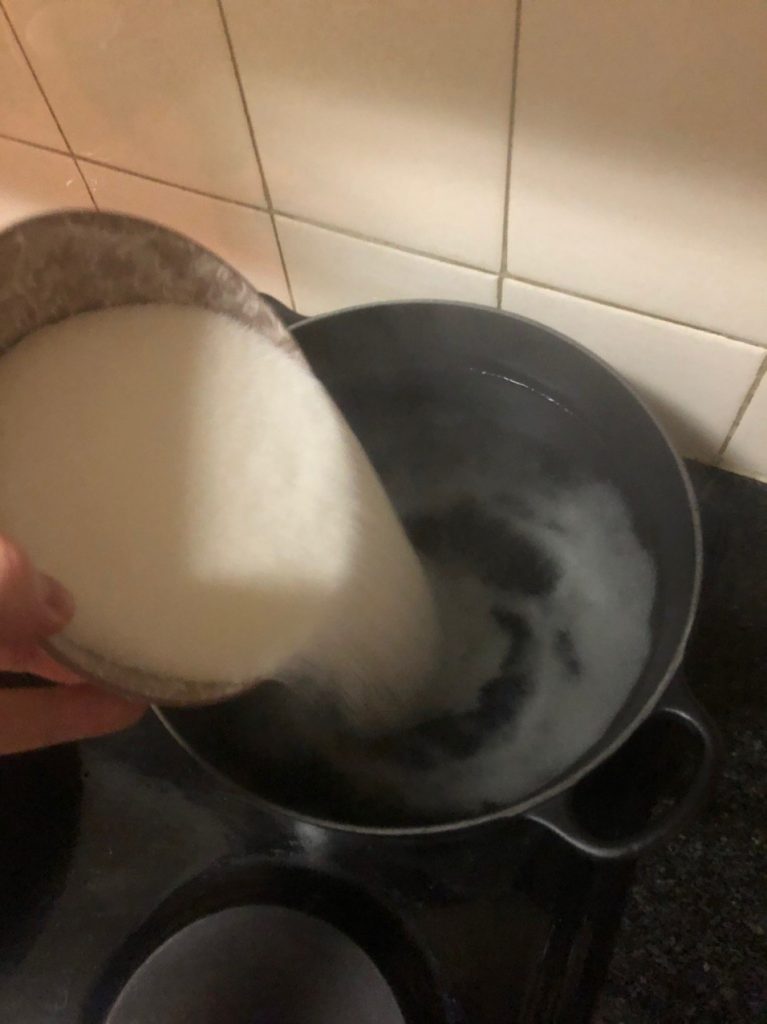
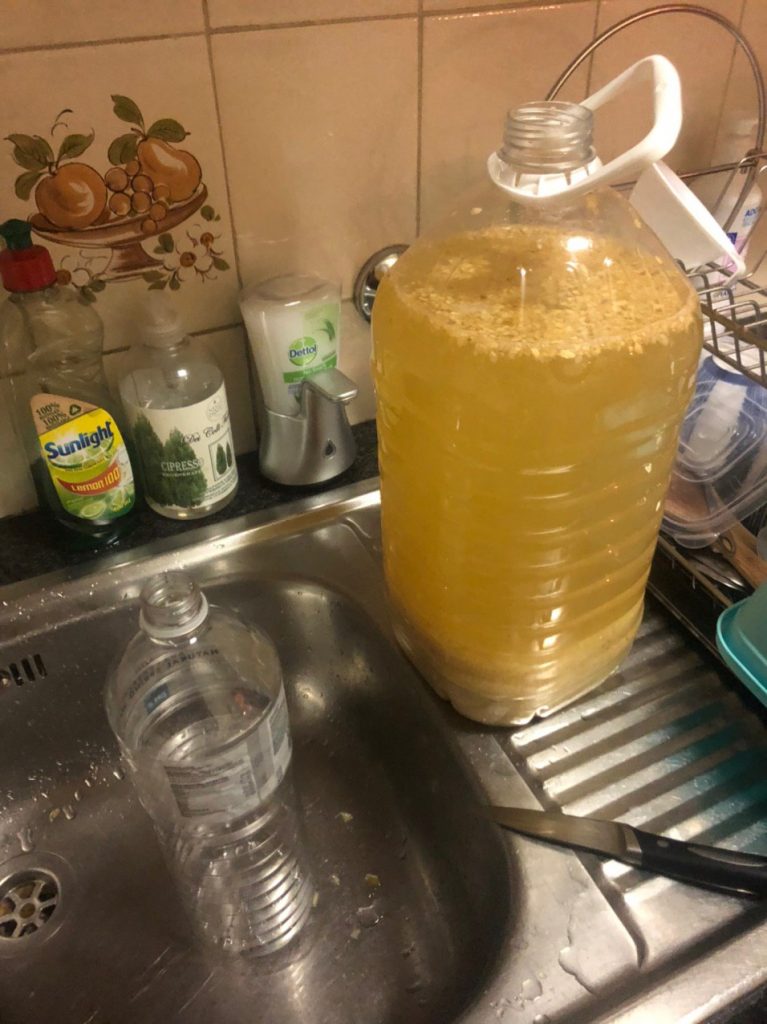
Once your mixture has cooled down enough, it’s time to move it to the 5L bottle. These bottles deform from heat quite easily, so do make sure your liquid is cool enough. Use a funnel, or if you’re feeling confident just pour directly in.
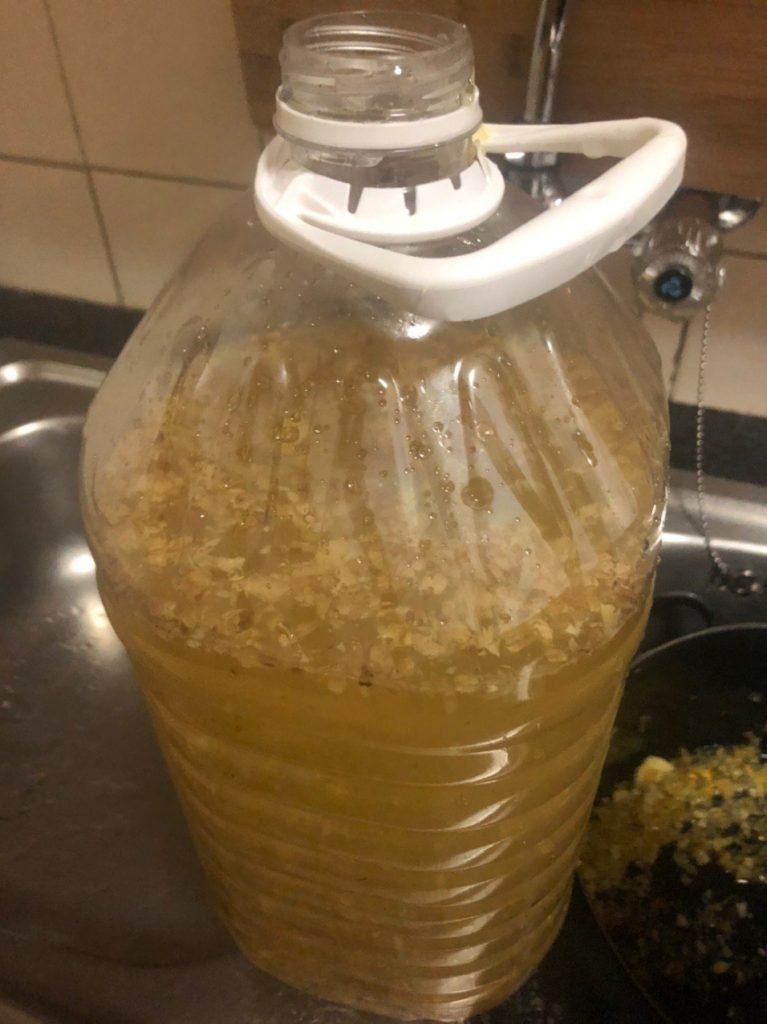
Once you’ve moved all the liquid and health smoothie across, you can top it up with the sterilized water from your kettle, that should have also cooled down by now. Don’t fill it to the top, because there will be some foaming when the yeast reacts – a couple of fingers’ depth or so works fine.
Yeast goes in… 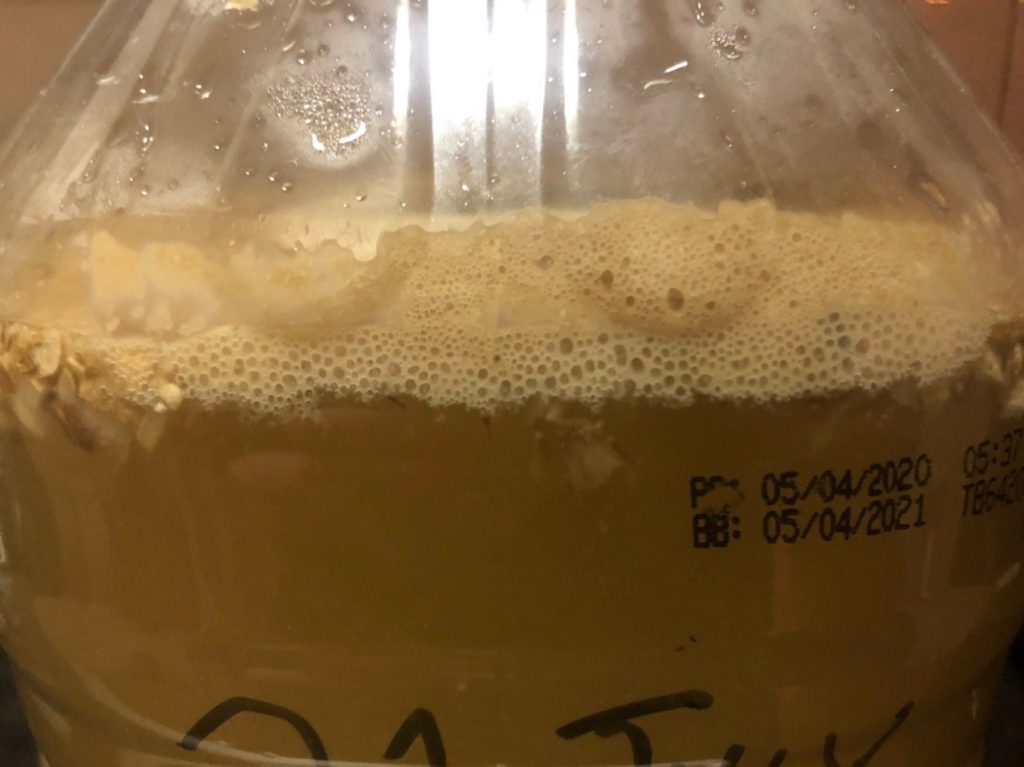
…action begins 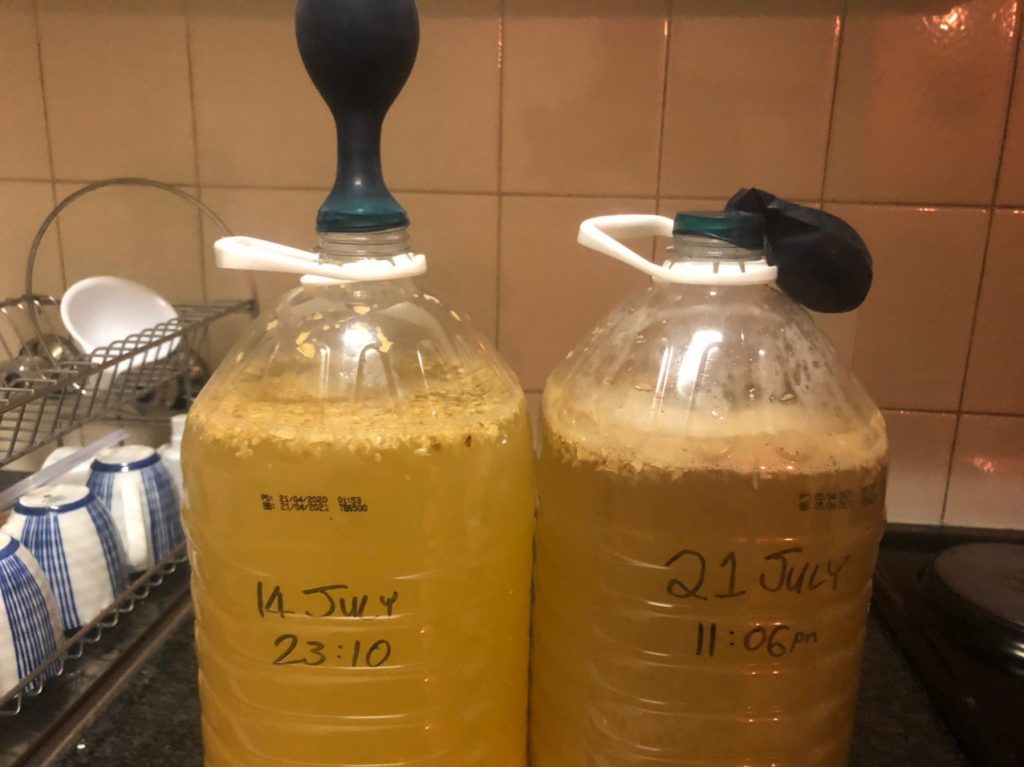
Very consistent with brewing times it seems.
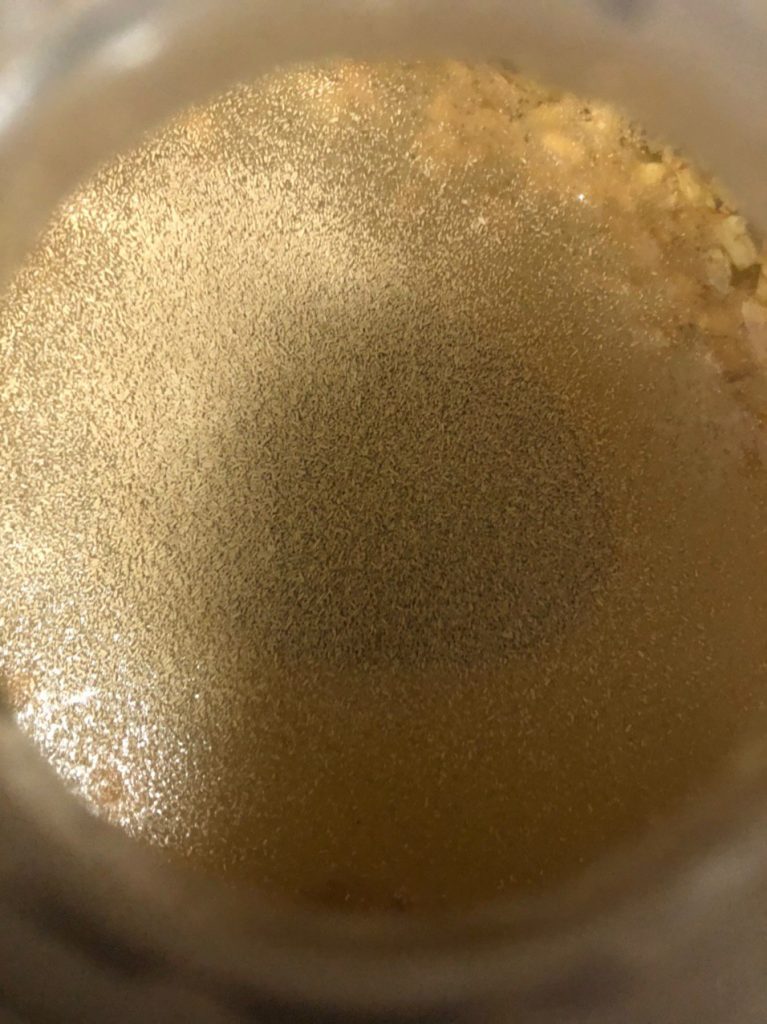
When the time has come, pour the entire sachet of yeast into the bottle. Cover the top immediately with the balloon – you don’t want anything else sneaking in there and ruining the mix. You’ll be able to see some action happening in the bubble pattern on the sides fairly soon – if your balloon is on tightly enough, it will start inflating as well. If you’re worried about the balloon exploding overnight, pierce a small hole in it – it will still inflate and keep out infectants, but it won’t be able to inflate enough to burst.
For those with short memories, write the date and time on the side of the bottle.
Now your mix is going to sit for around a week. After three days or so, when the yeast is established, you can take the balloon off and give the mix a stir once a day.
And we’re done
You’ll know that the mix is fermented when, after a week or more, the bubbling has mostly stopped. You can taste it to see (like you weren’t about to taste it anyway) – if it’s fermented, most of the sugars should have been used up. Once that’s happened, it’s time to move it across into your 1.5L bottles.
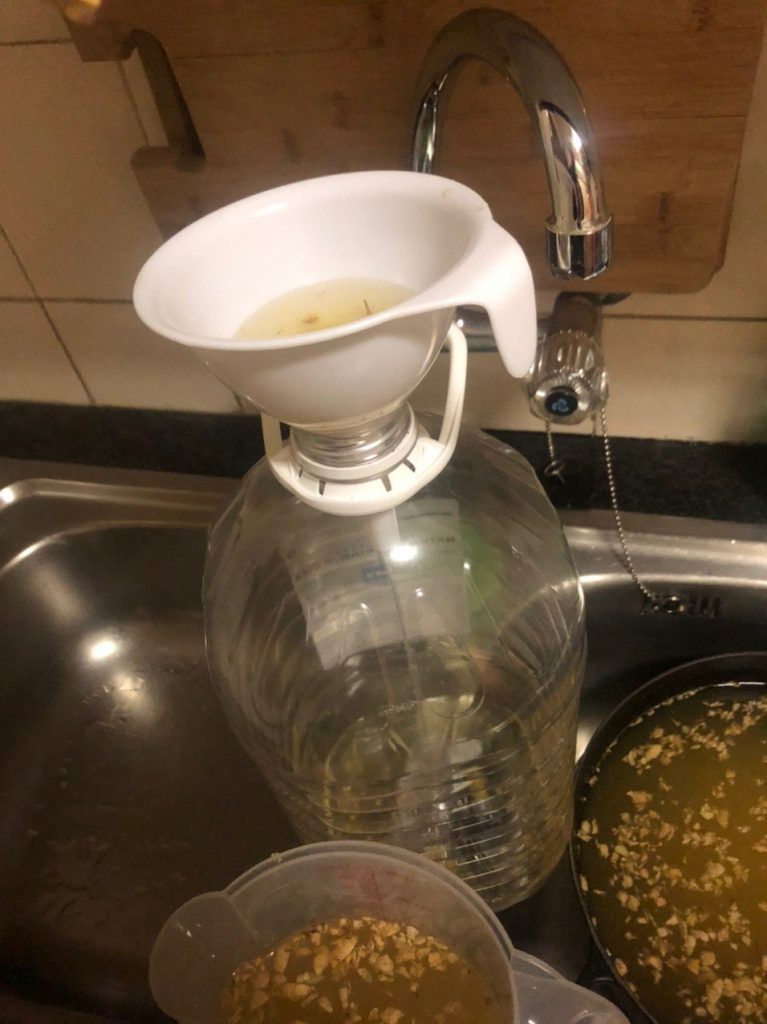
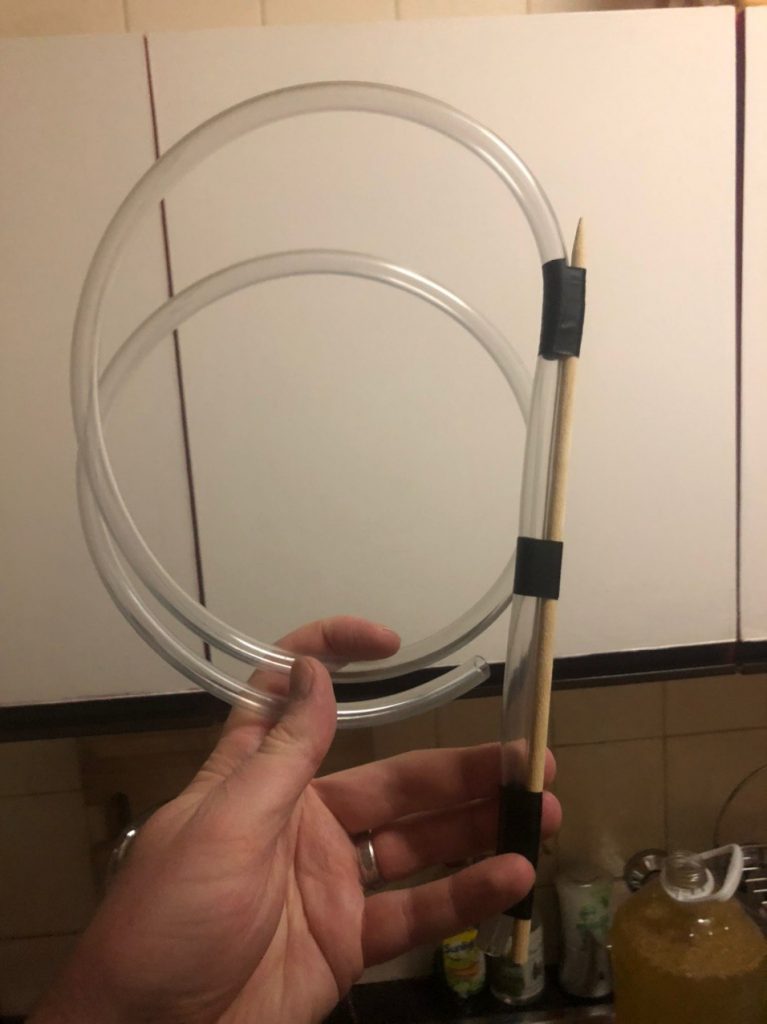
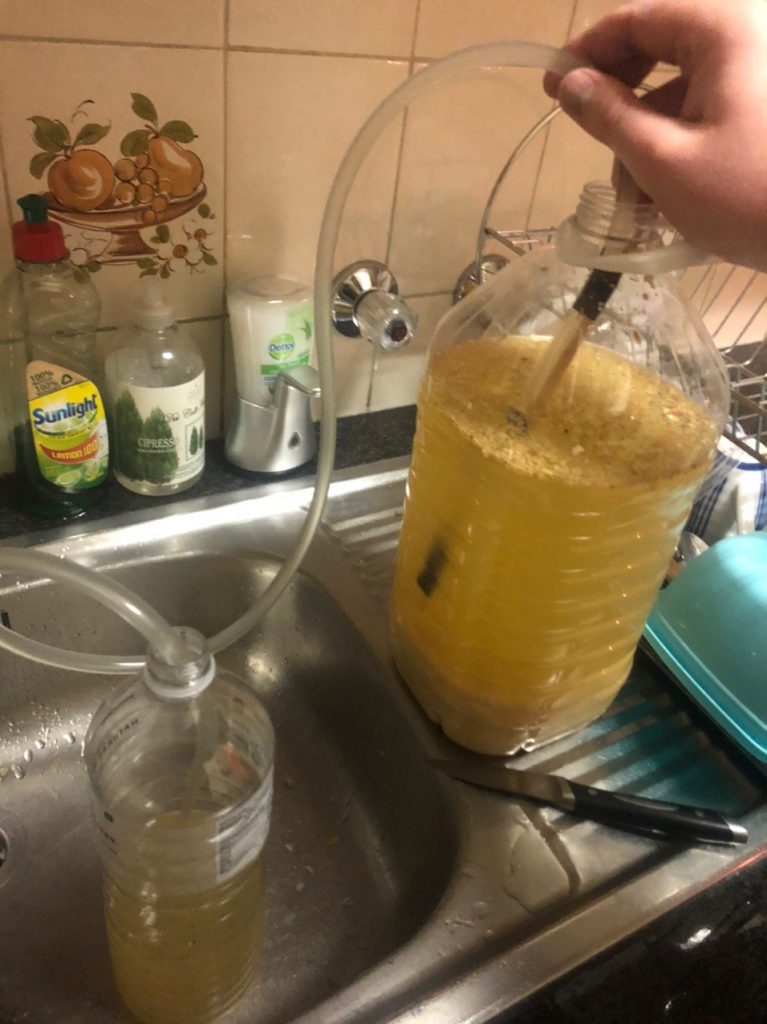
You can do this by pouring it into a pot, through a filter of some sort (mutton cloth works well), and then decanting it into the bottles, or you can building a McGuyver-style tube like I did and use that instead.
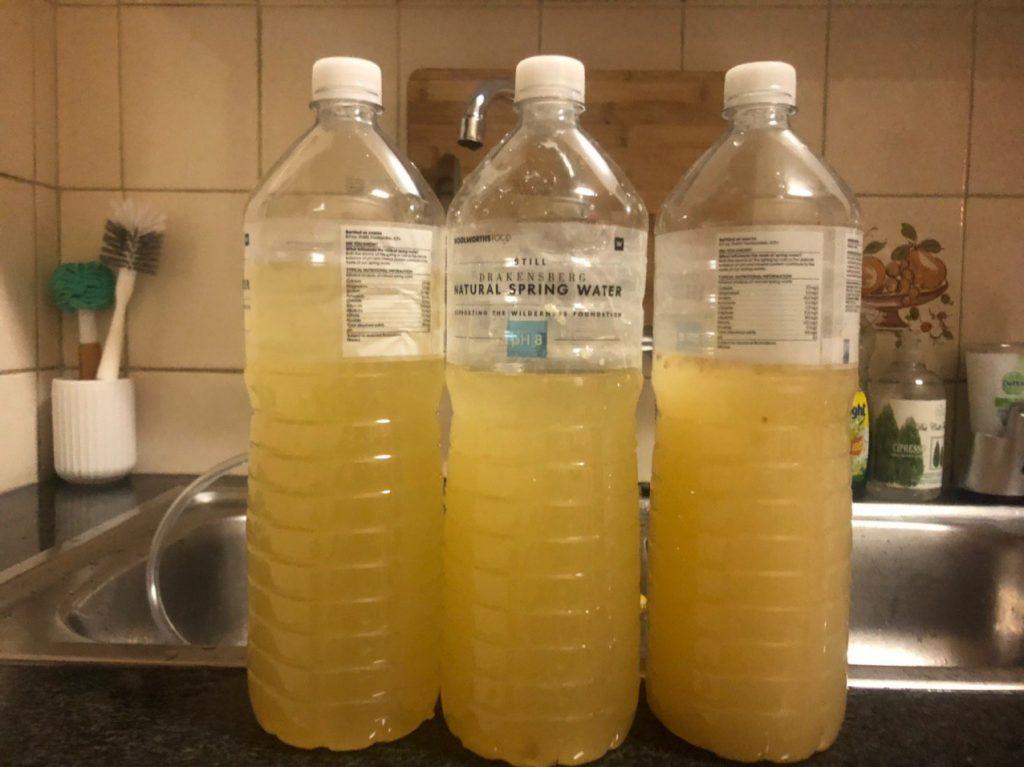
You can leave the bottles capped out of your fridge for a while longer to let them carbonate naturally, or you can just stick them in the fridge which will stop the fermenting and let them cool down enough for drinking.
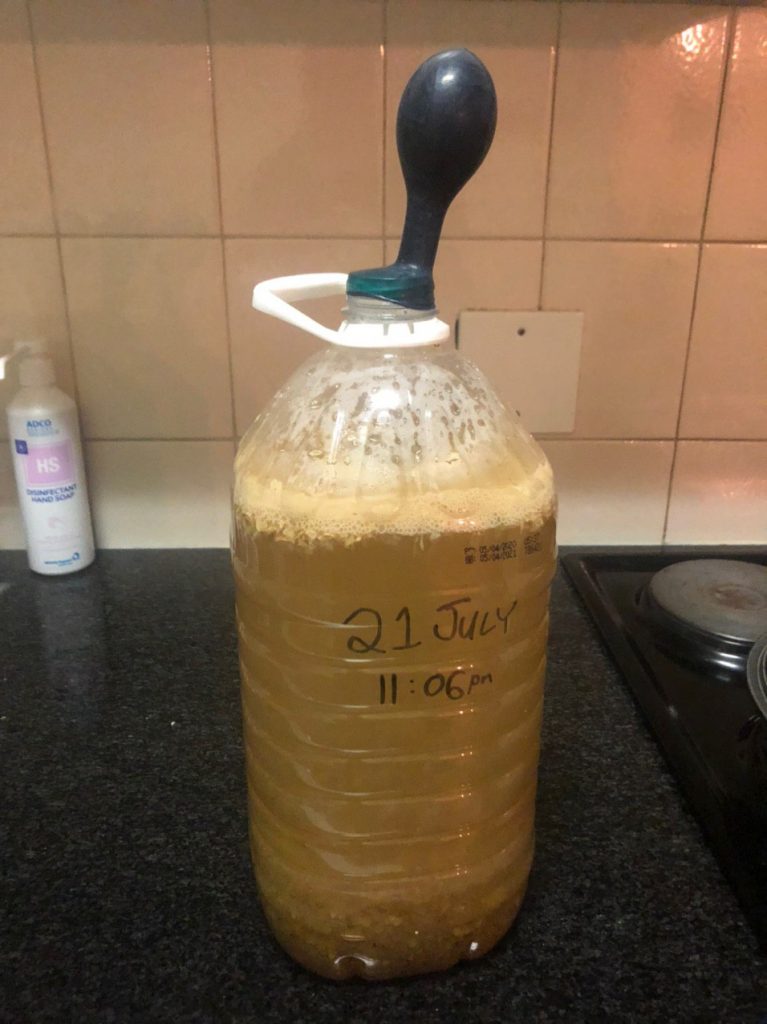
Decanting this bottle took around 12minutes with the tube – in this time, the ballon from the bottle we made previously began to fill up, so the process is quite quick.
Let me know if you made anything tasty or found any additions to this process.
Instructions unclear, penis caught in ceiling fan.
Nah, you nailed it.